导语
In this article, we’ll cover how to build a custom kernel for the NVIDIA Jetson TX1. For our purposes, having a way to build a custom kernel or add some modules here and there is a good to have in the tool belt.Tegra TX1(r24.2.1)驱动补丁和内核编译过程
准备工作
1、在官网下载相应版本的kernel源代码。
2、解压kernel源码在合适的位置,我将kernel解压在/usr/src/sources中:
tar -xvjf kernel_src.tbz2
内核编译
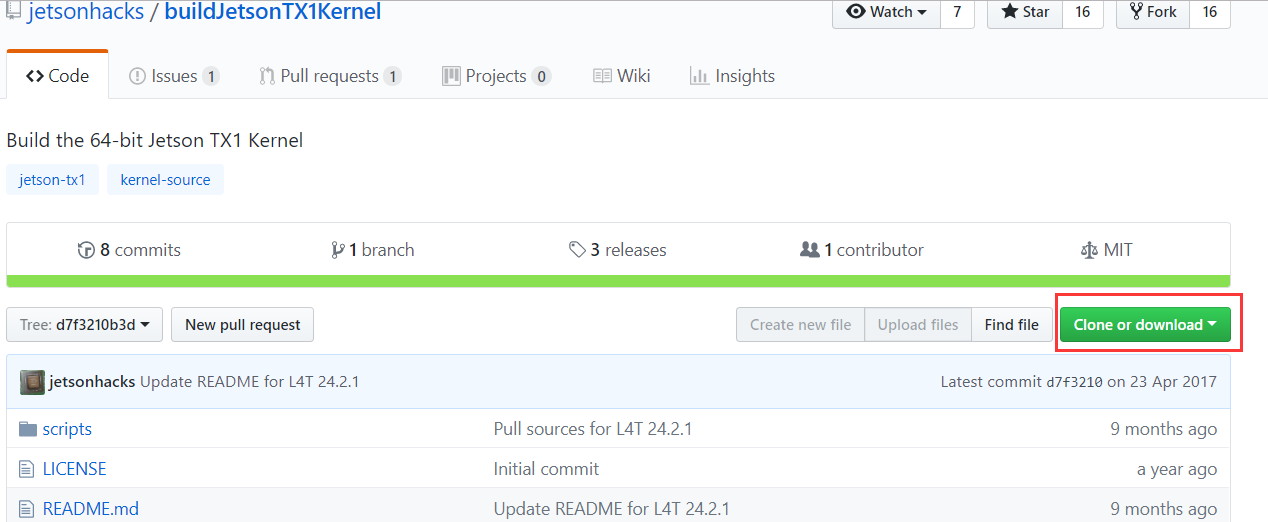
内核编译网上有很多方式,我采用GitHub的jetsonhack的buildJetsonTX1Kernel脚本方式,比较方便,但要下载相应的版本的脚本。写这篇文章时,已经是L4T 28.1版本。因此在commits中找到了L4T 24.2.1版本的。
下载后的脚本基本按照getKernelSources.sh,patchAndBuildKernel.sh, copyImage.sh三个脚本文件顺序执行,执行的时候需要注意的是内核源码的位置,对于本文,由于内核源码直接在官网下载过了,而且已解压到/usr/src/sources位置,因此可以不运行getKernelSources.sh脚本中源码下载部分,只运行apt-get部分。此外后面步骤的脚本需要修改相应的kernel路径位置。根据build-custom-kernel-nvidia-jetson中所述,第一步需要先生成内核配置文件:
If you are running a differently configured or modified kernel, you may want to generate the .config file in a different manner. One way to do this is to use:
$ make tegra21_defconfig
1. 编辑内核配置–Edit the Kernel Configuration
在解压后的源码kernel路径中,运行以下命令:
生成.config文件,运行以下命令行,会在kernel路径下生成隐藏文件.config文件
$ make tegra21_defconfig
修改.config文件
$ make menuconfig
或者
$ make xconfig
修改的内容根据要求要定。我需要的是增加内核中OV5640的支持,因此第一步我需要添加OV5640的驱动,根据OV5693的设置,添加了OV5640的选项。第二步由于我需要修改extlinux.config中的启动dtb文件,因此根据/usr/src/sources/kernel/arch/arm64/boot中的Makefile文件添加.config文件中的CONFIG_BUILD_ARM64_APPENDED_DTB_IMAGE_NAMES参数值。
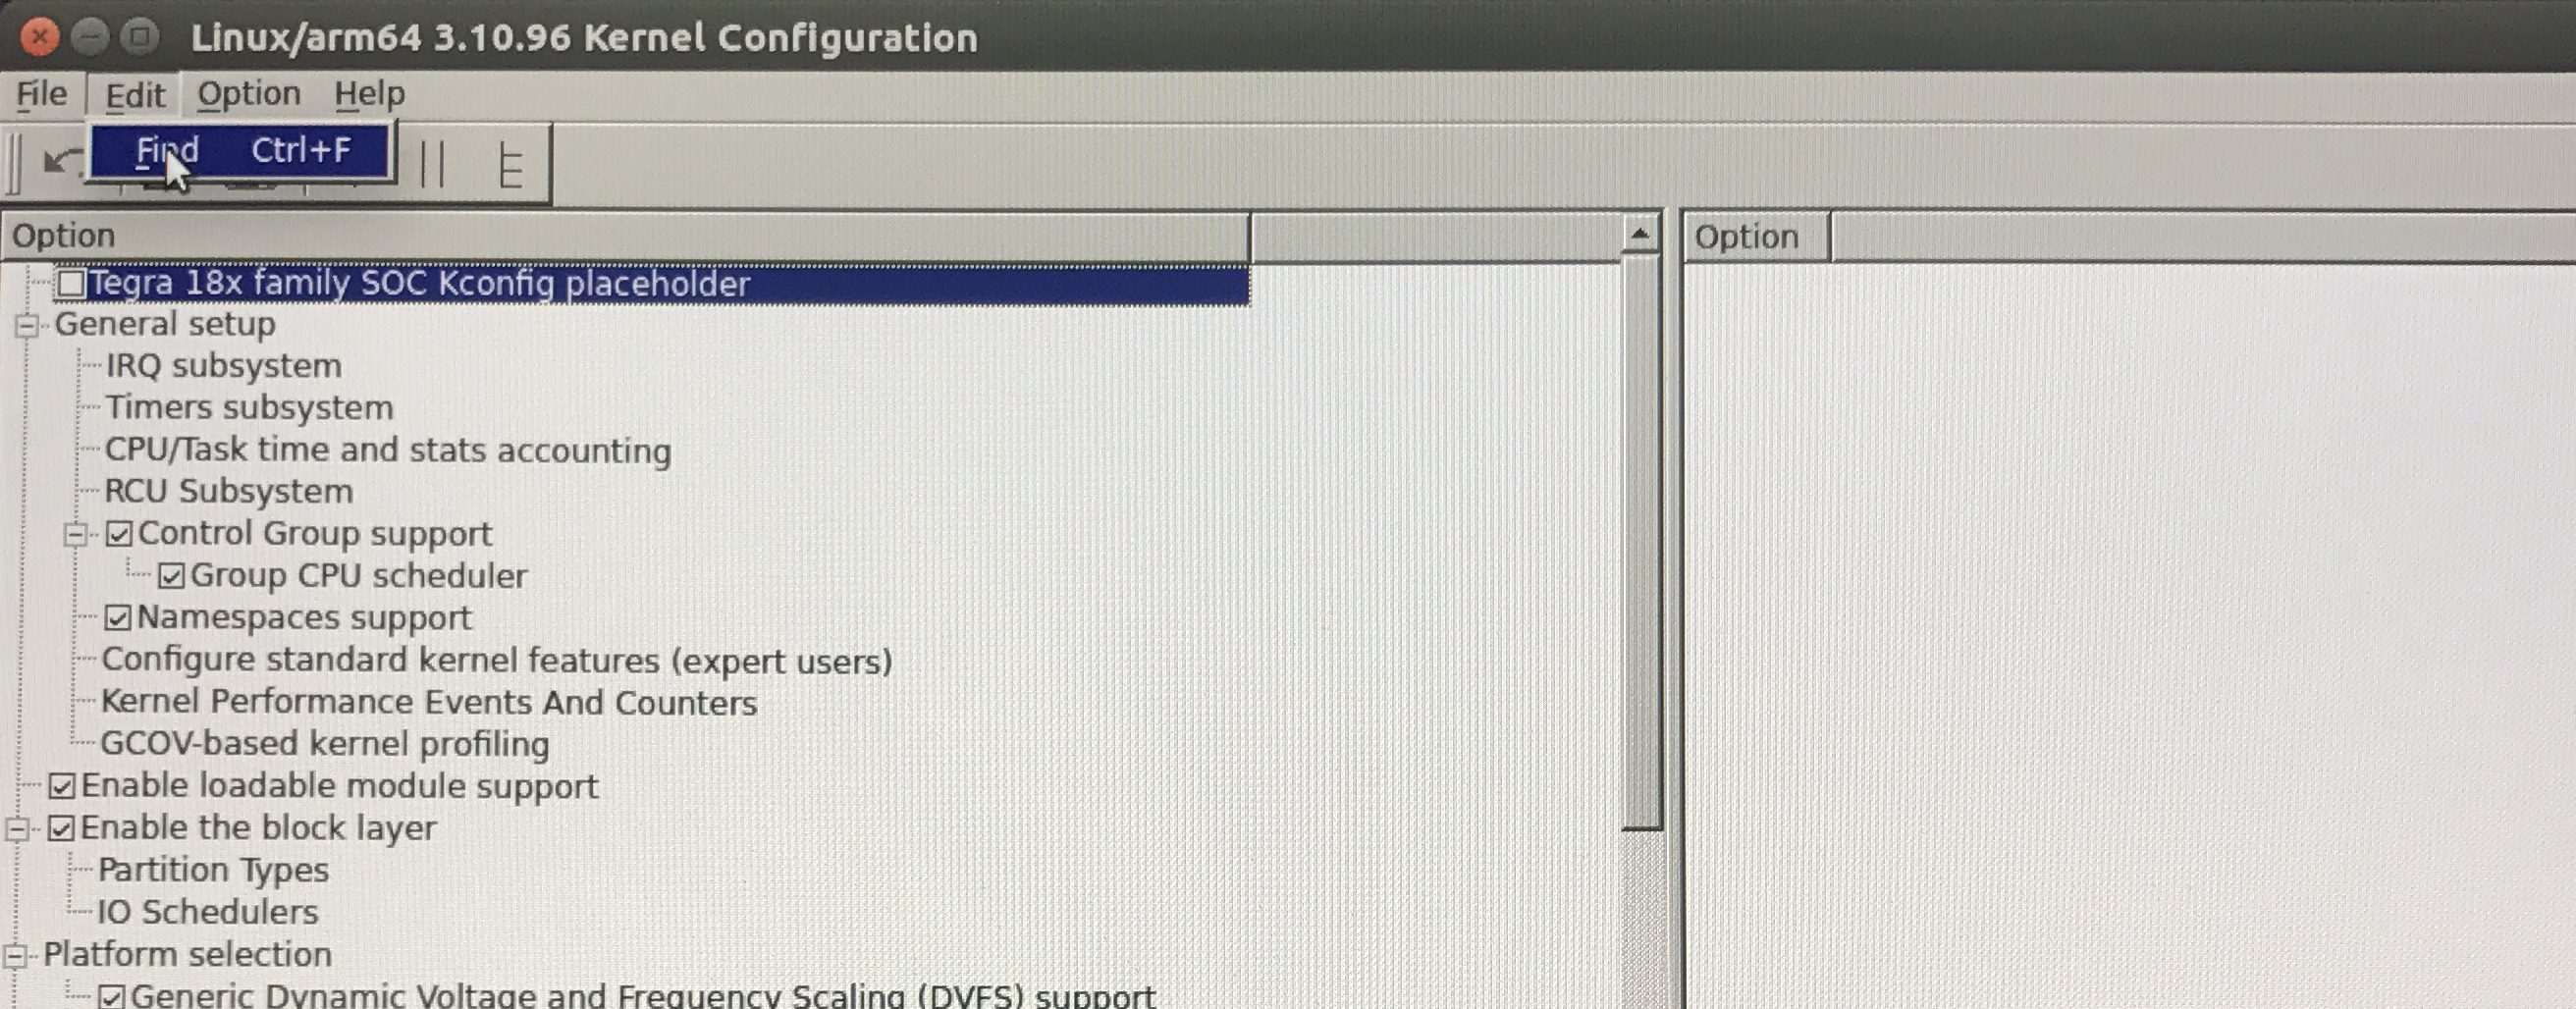
步骤一:添加了OV5640的选项,我使用的是make xconfig添加该选项。
点击Edit-Find
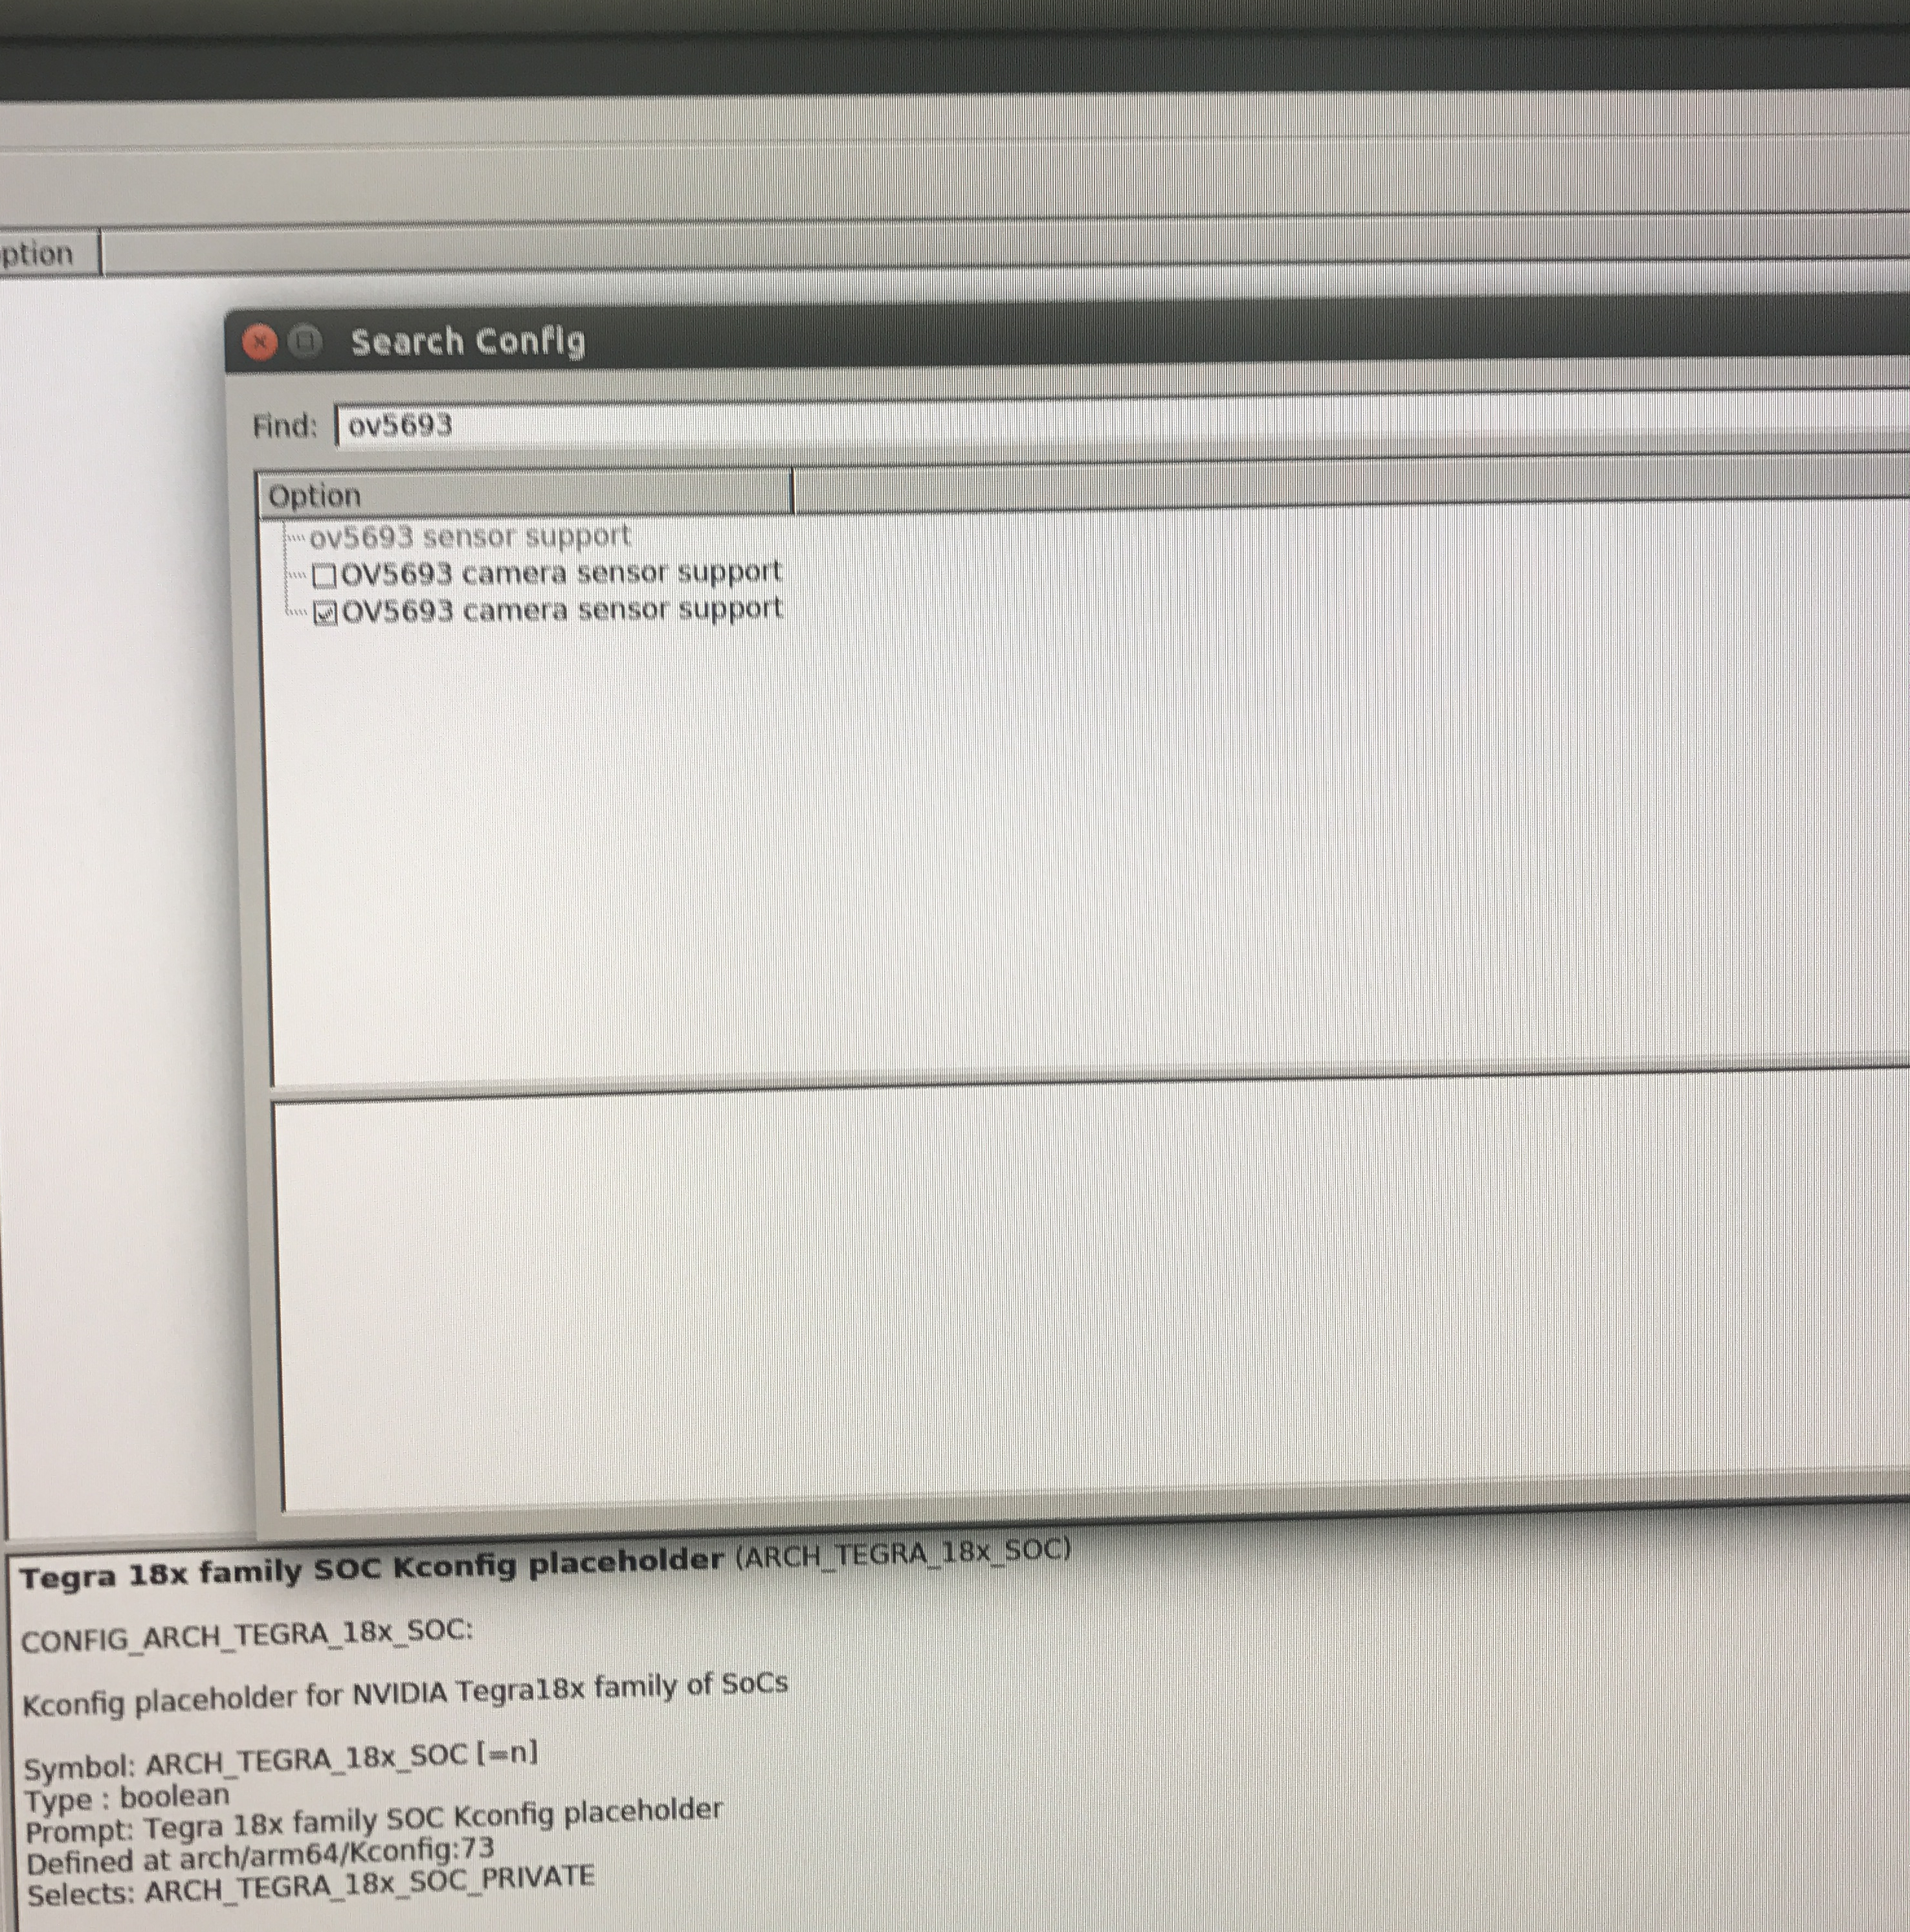
输入OV5693,点击SEARCH
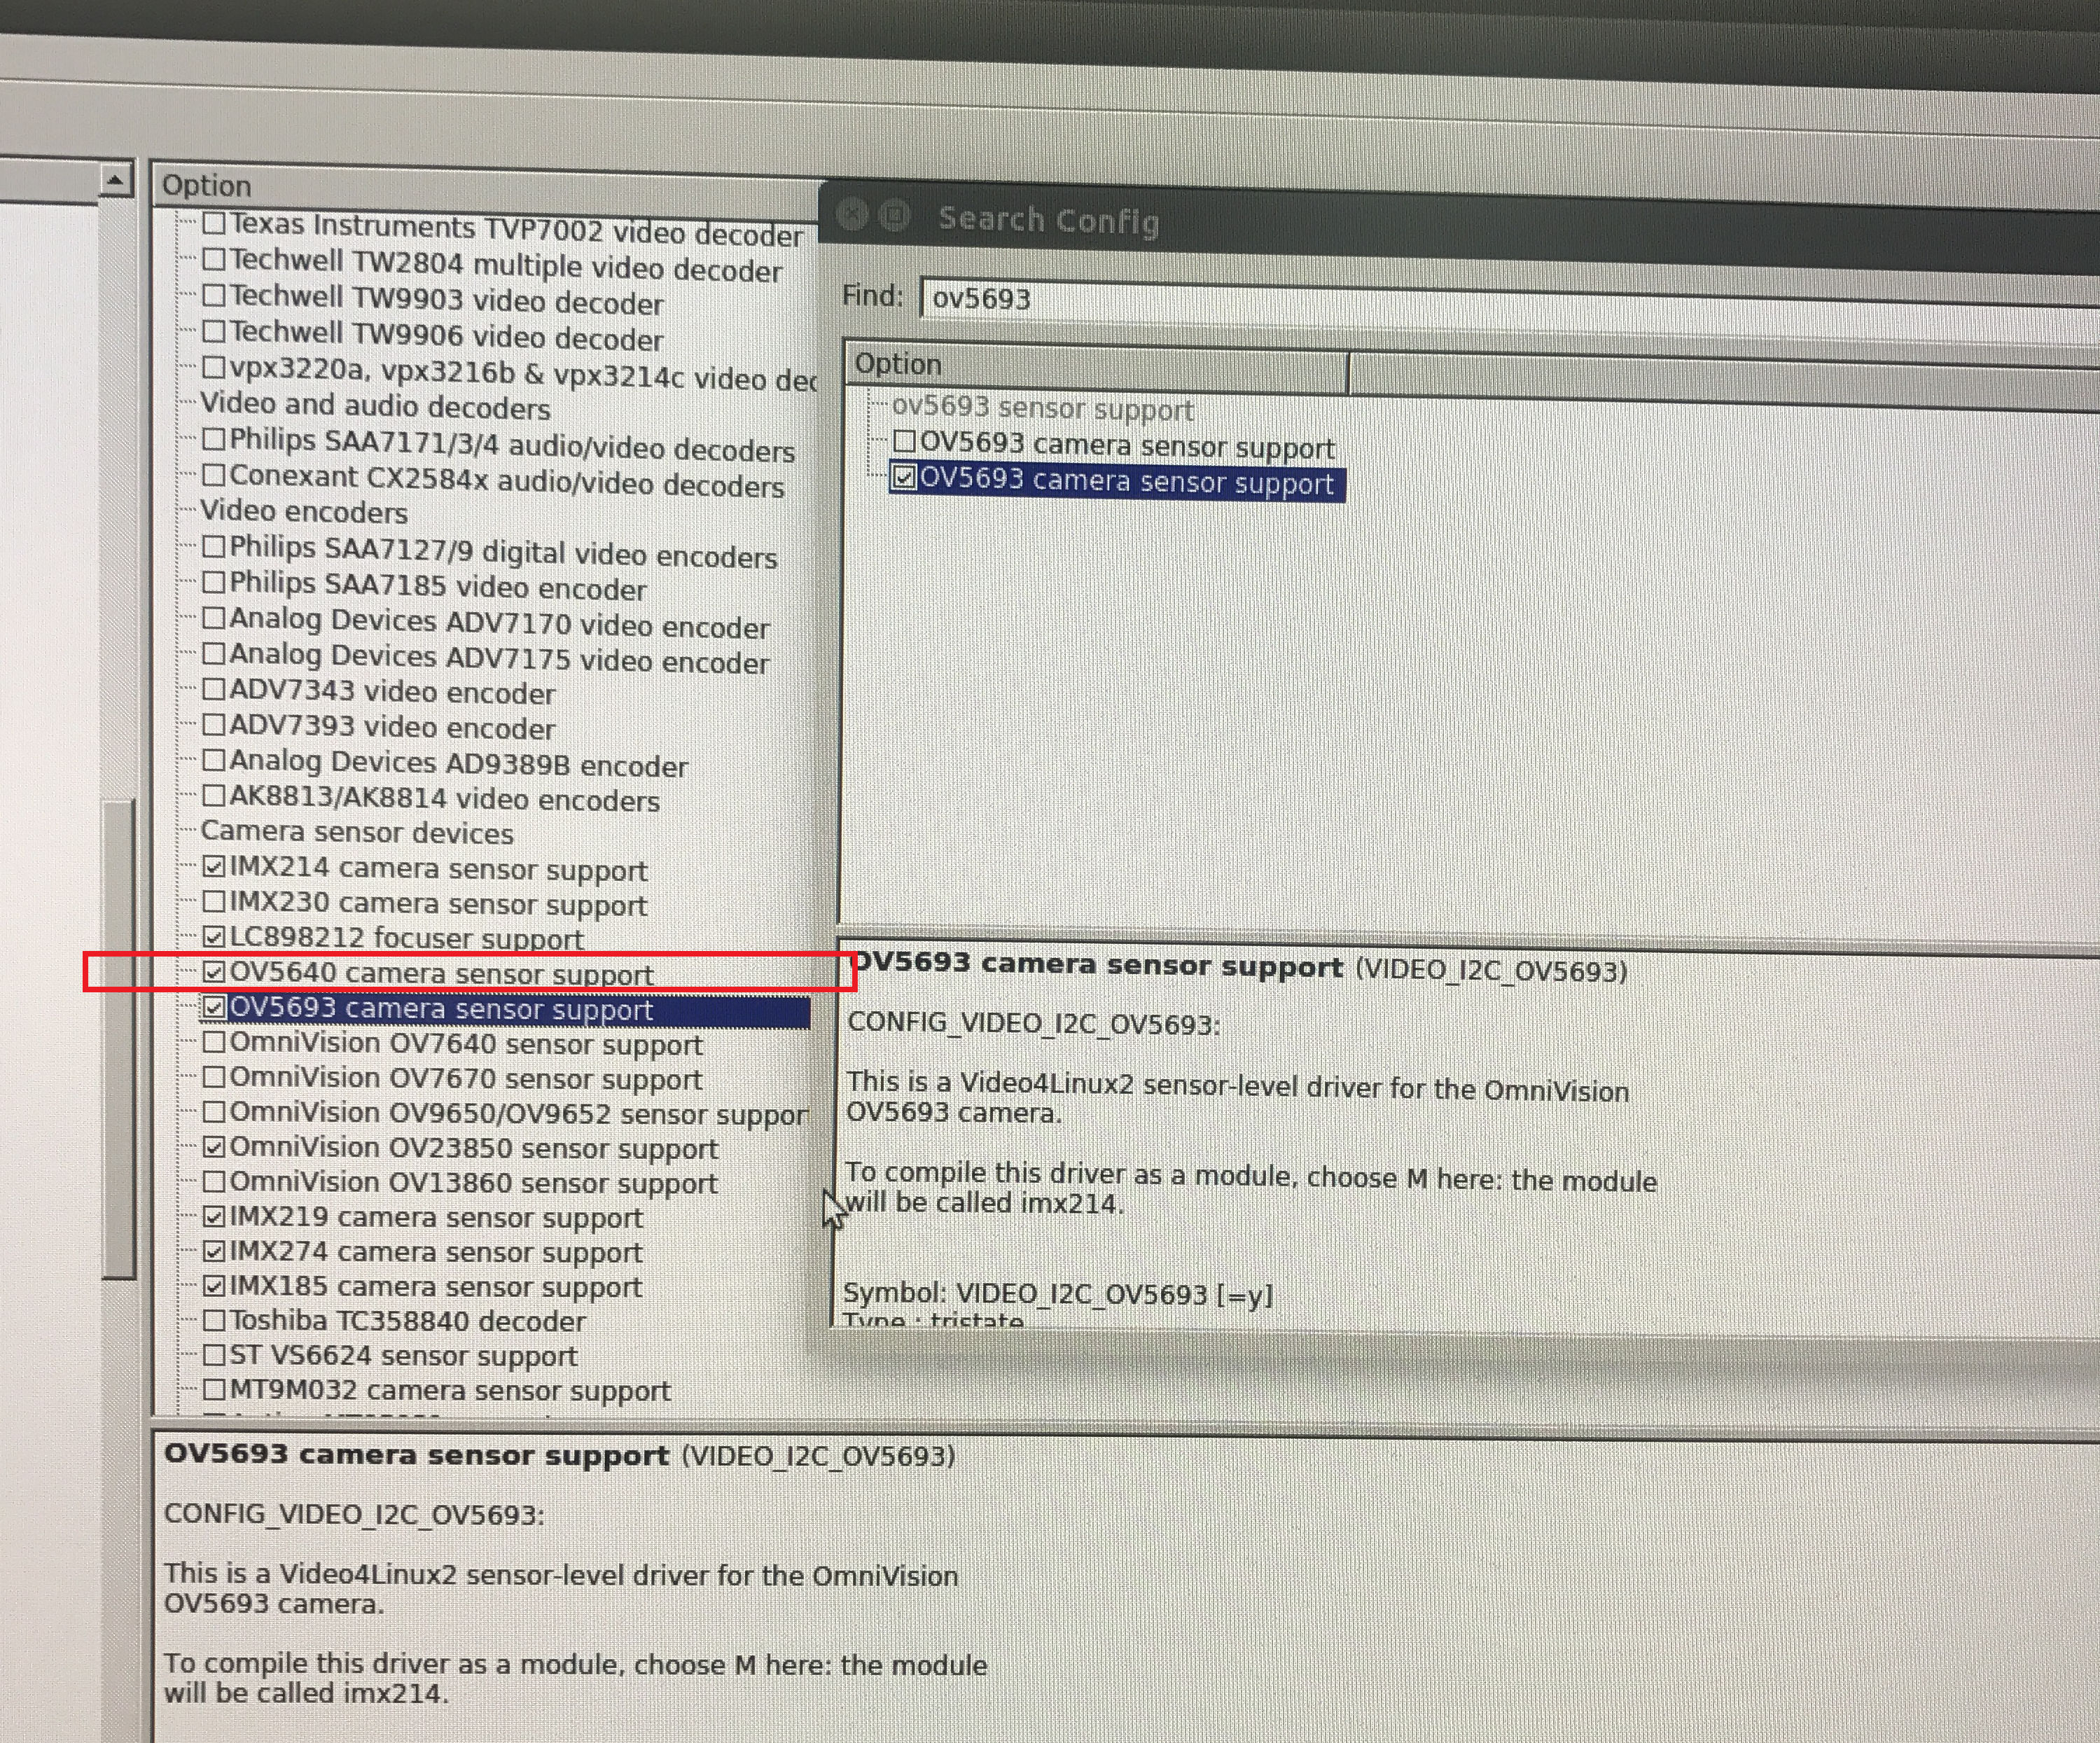
点击打钩的OV5693 camera sensor support选项,找到左边该选项,将选项上方的OV5640选项打钩,点击保存
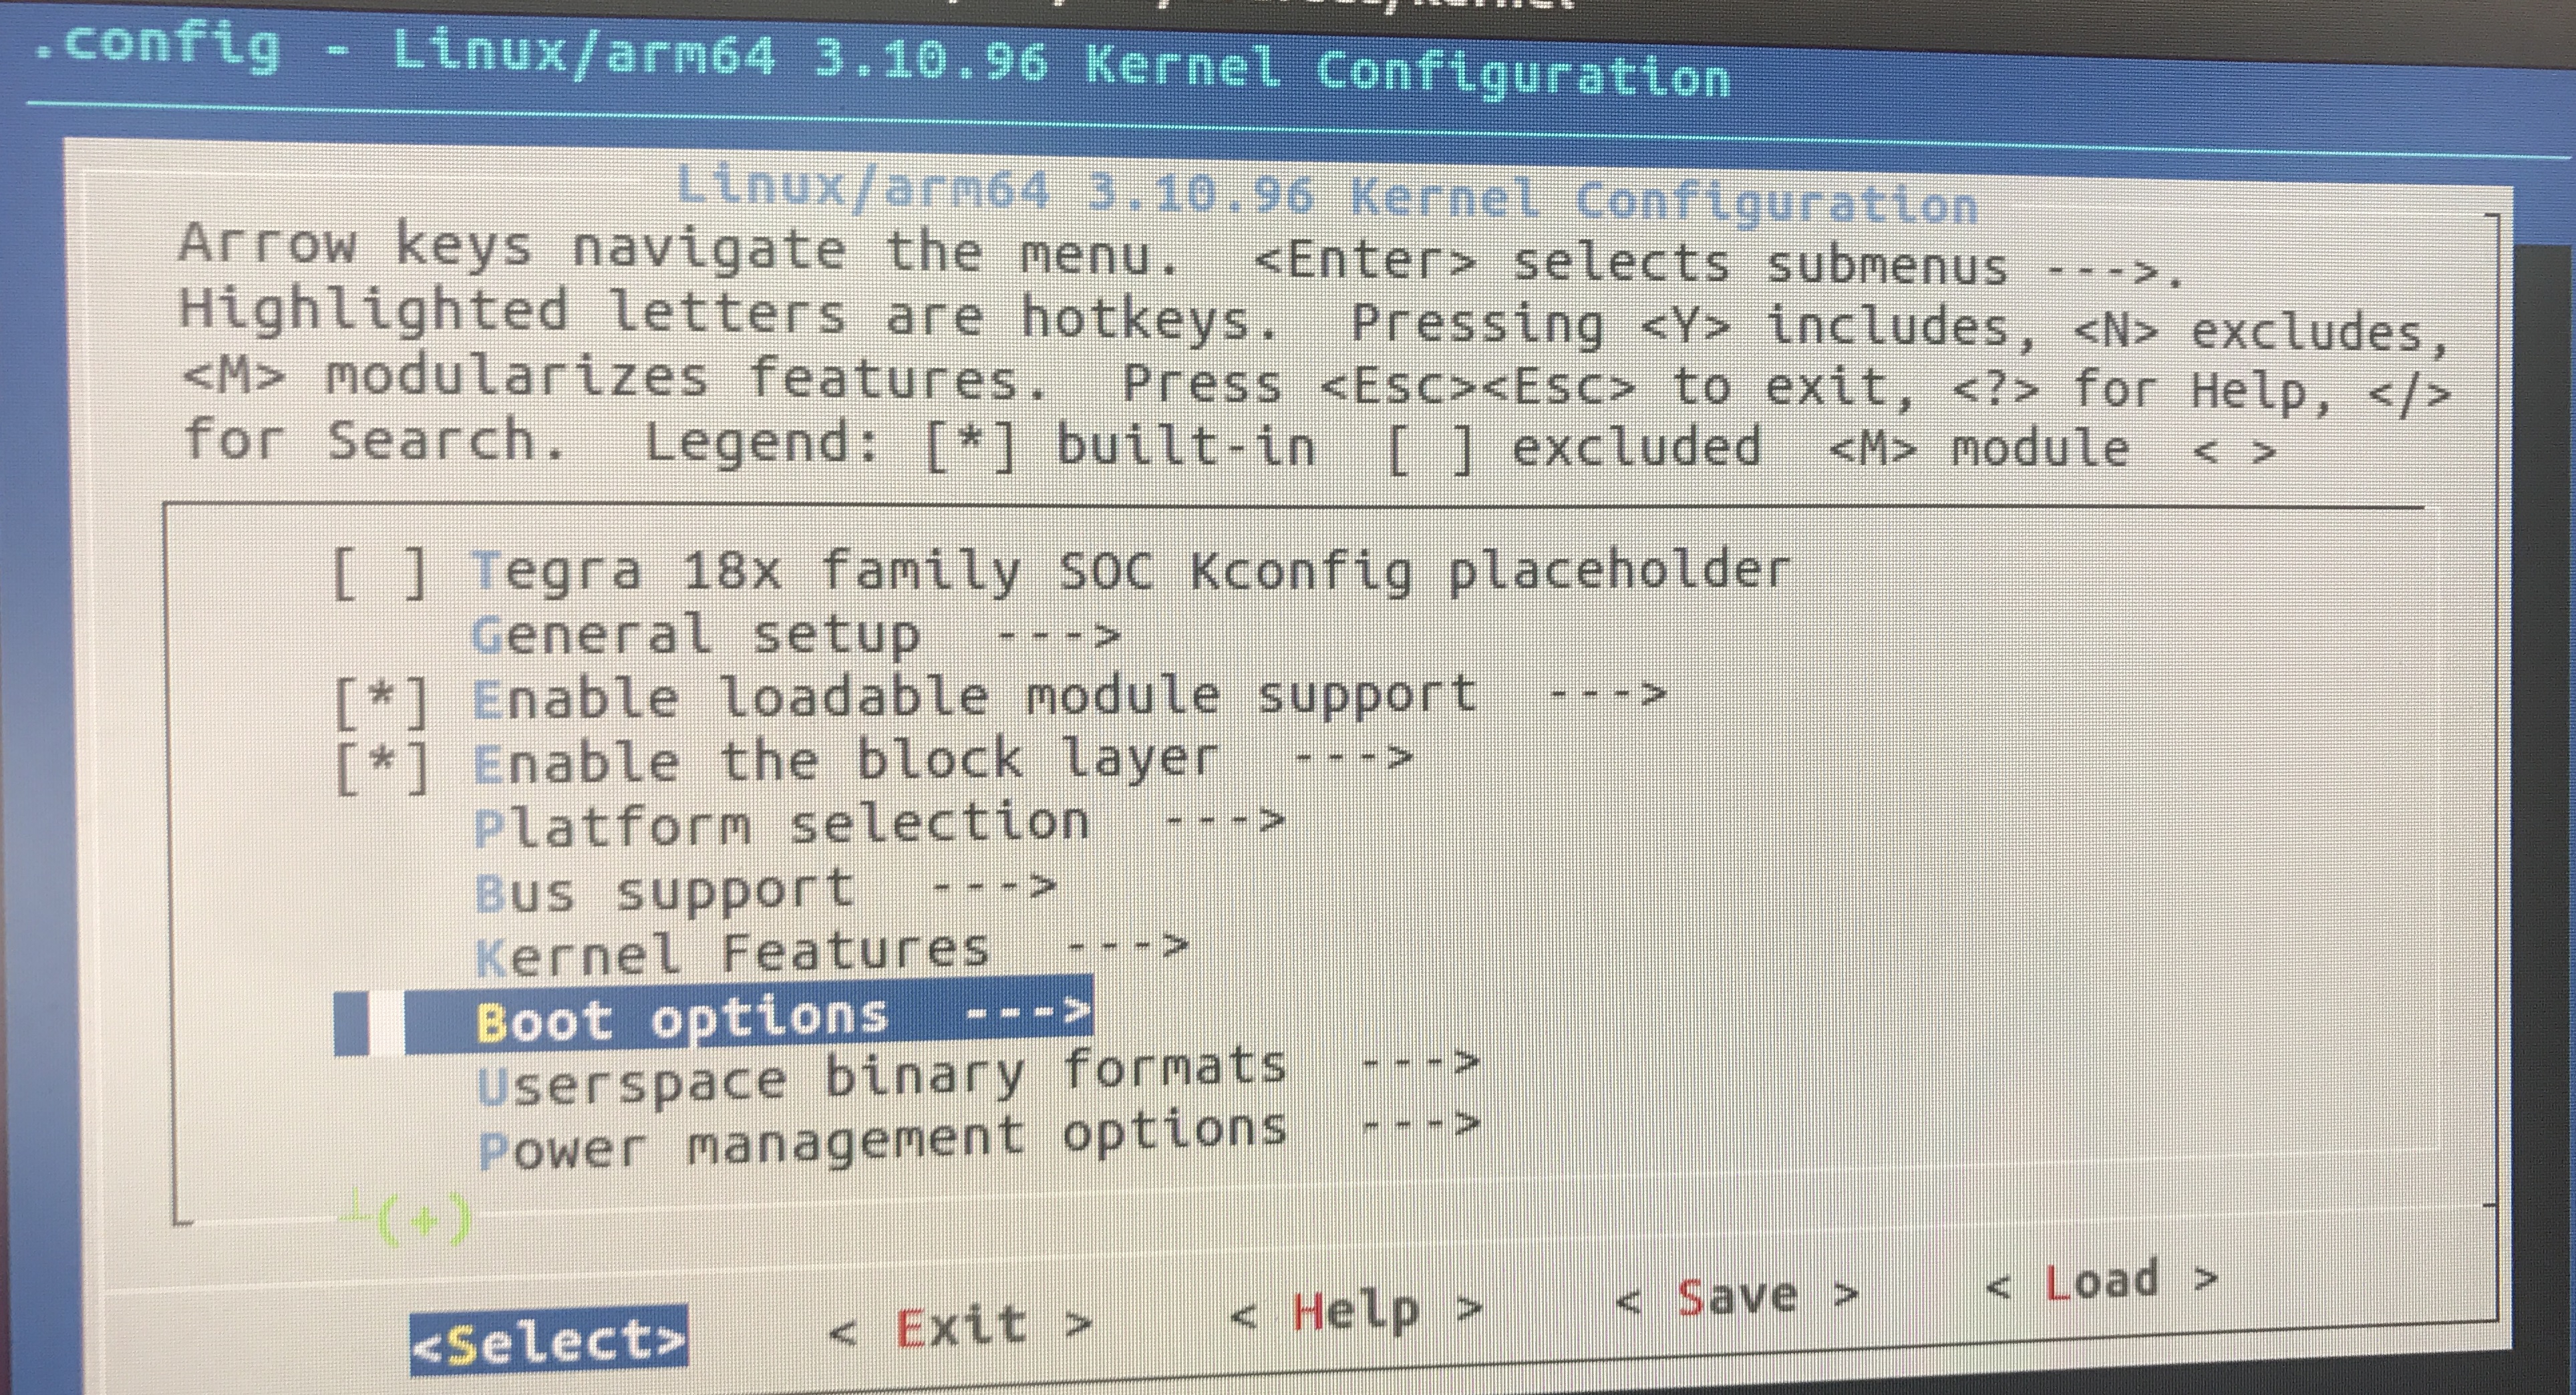
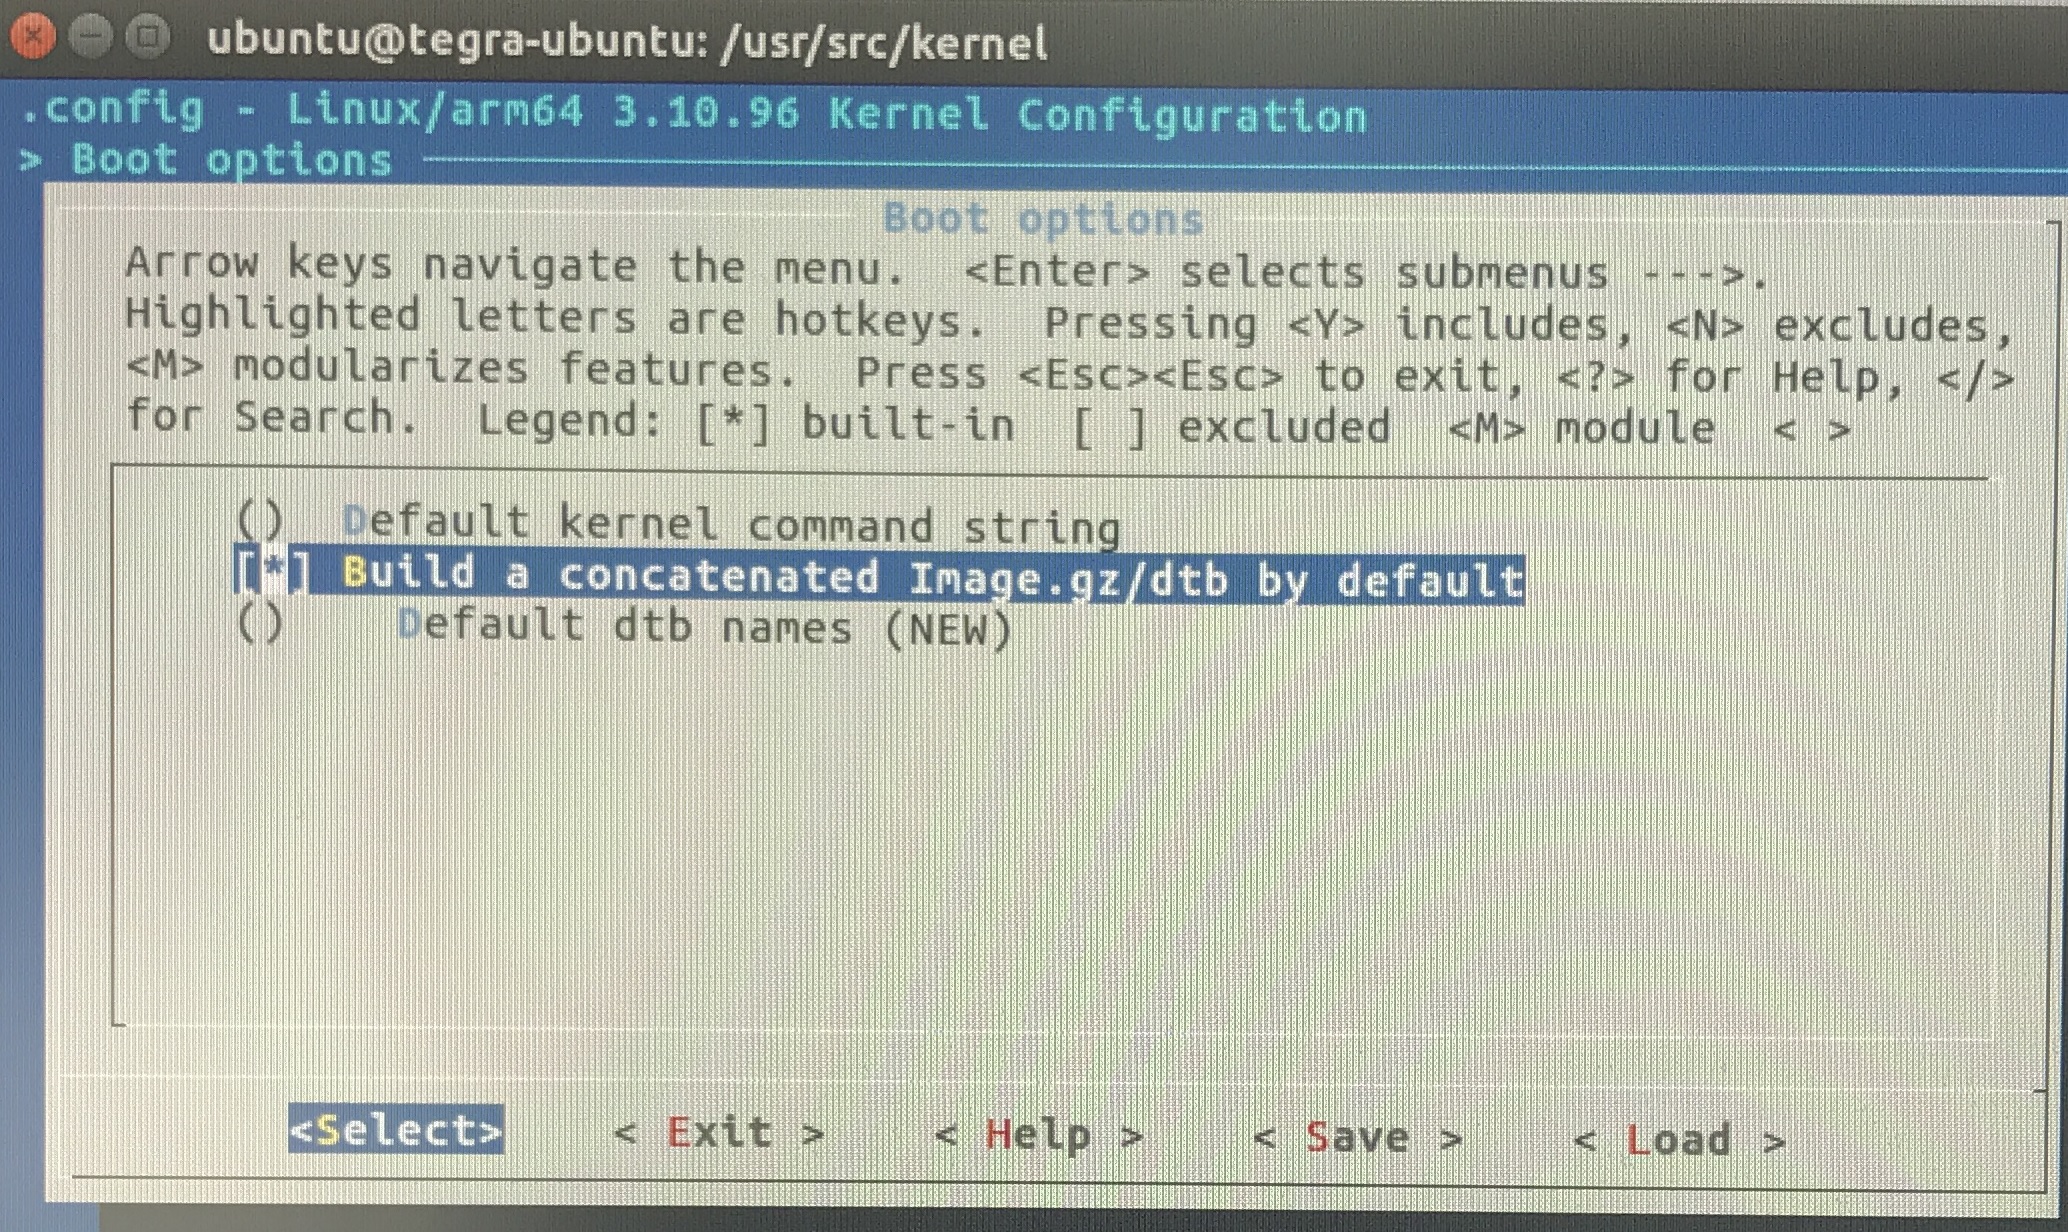
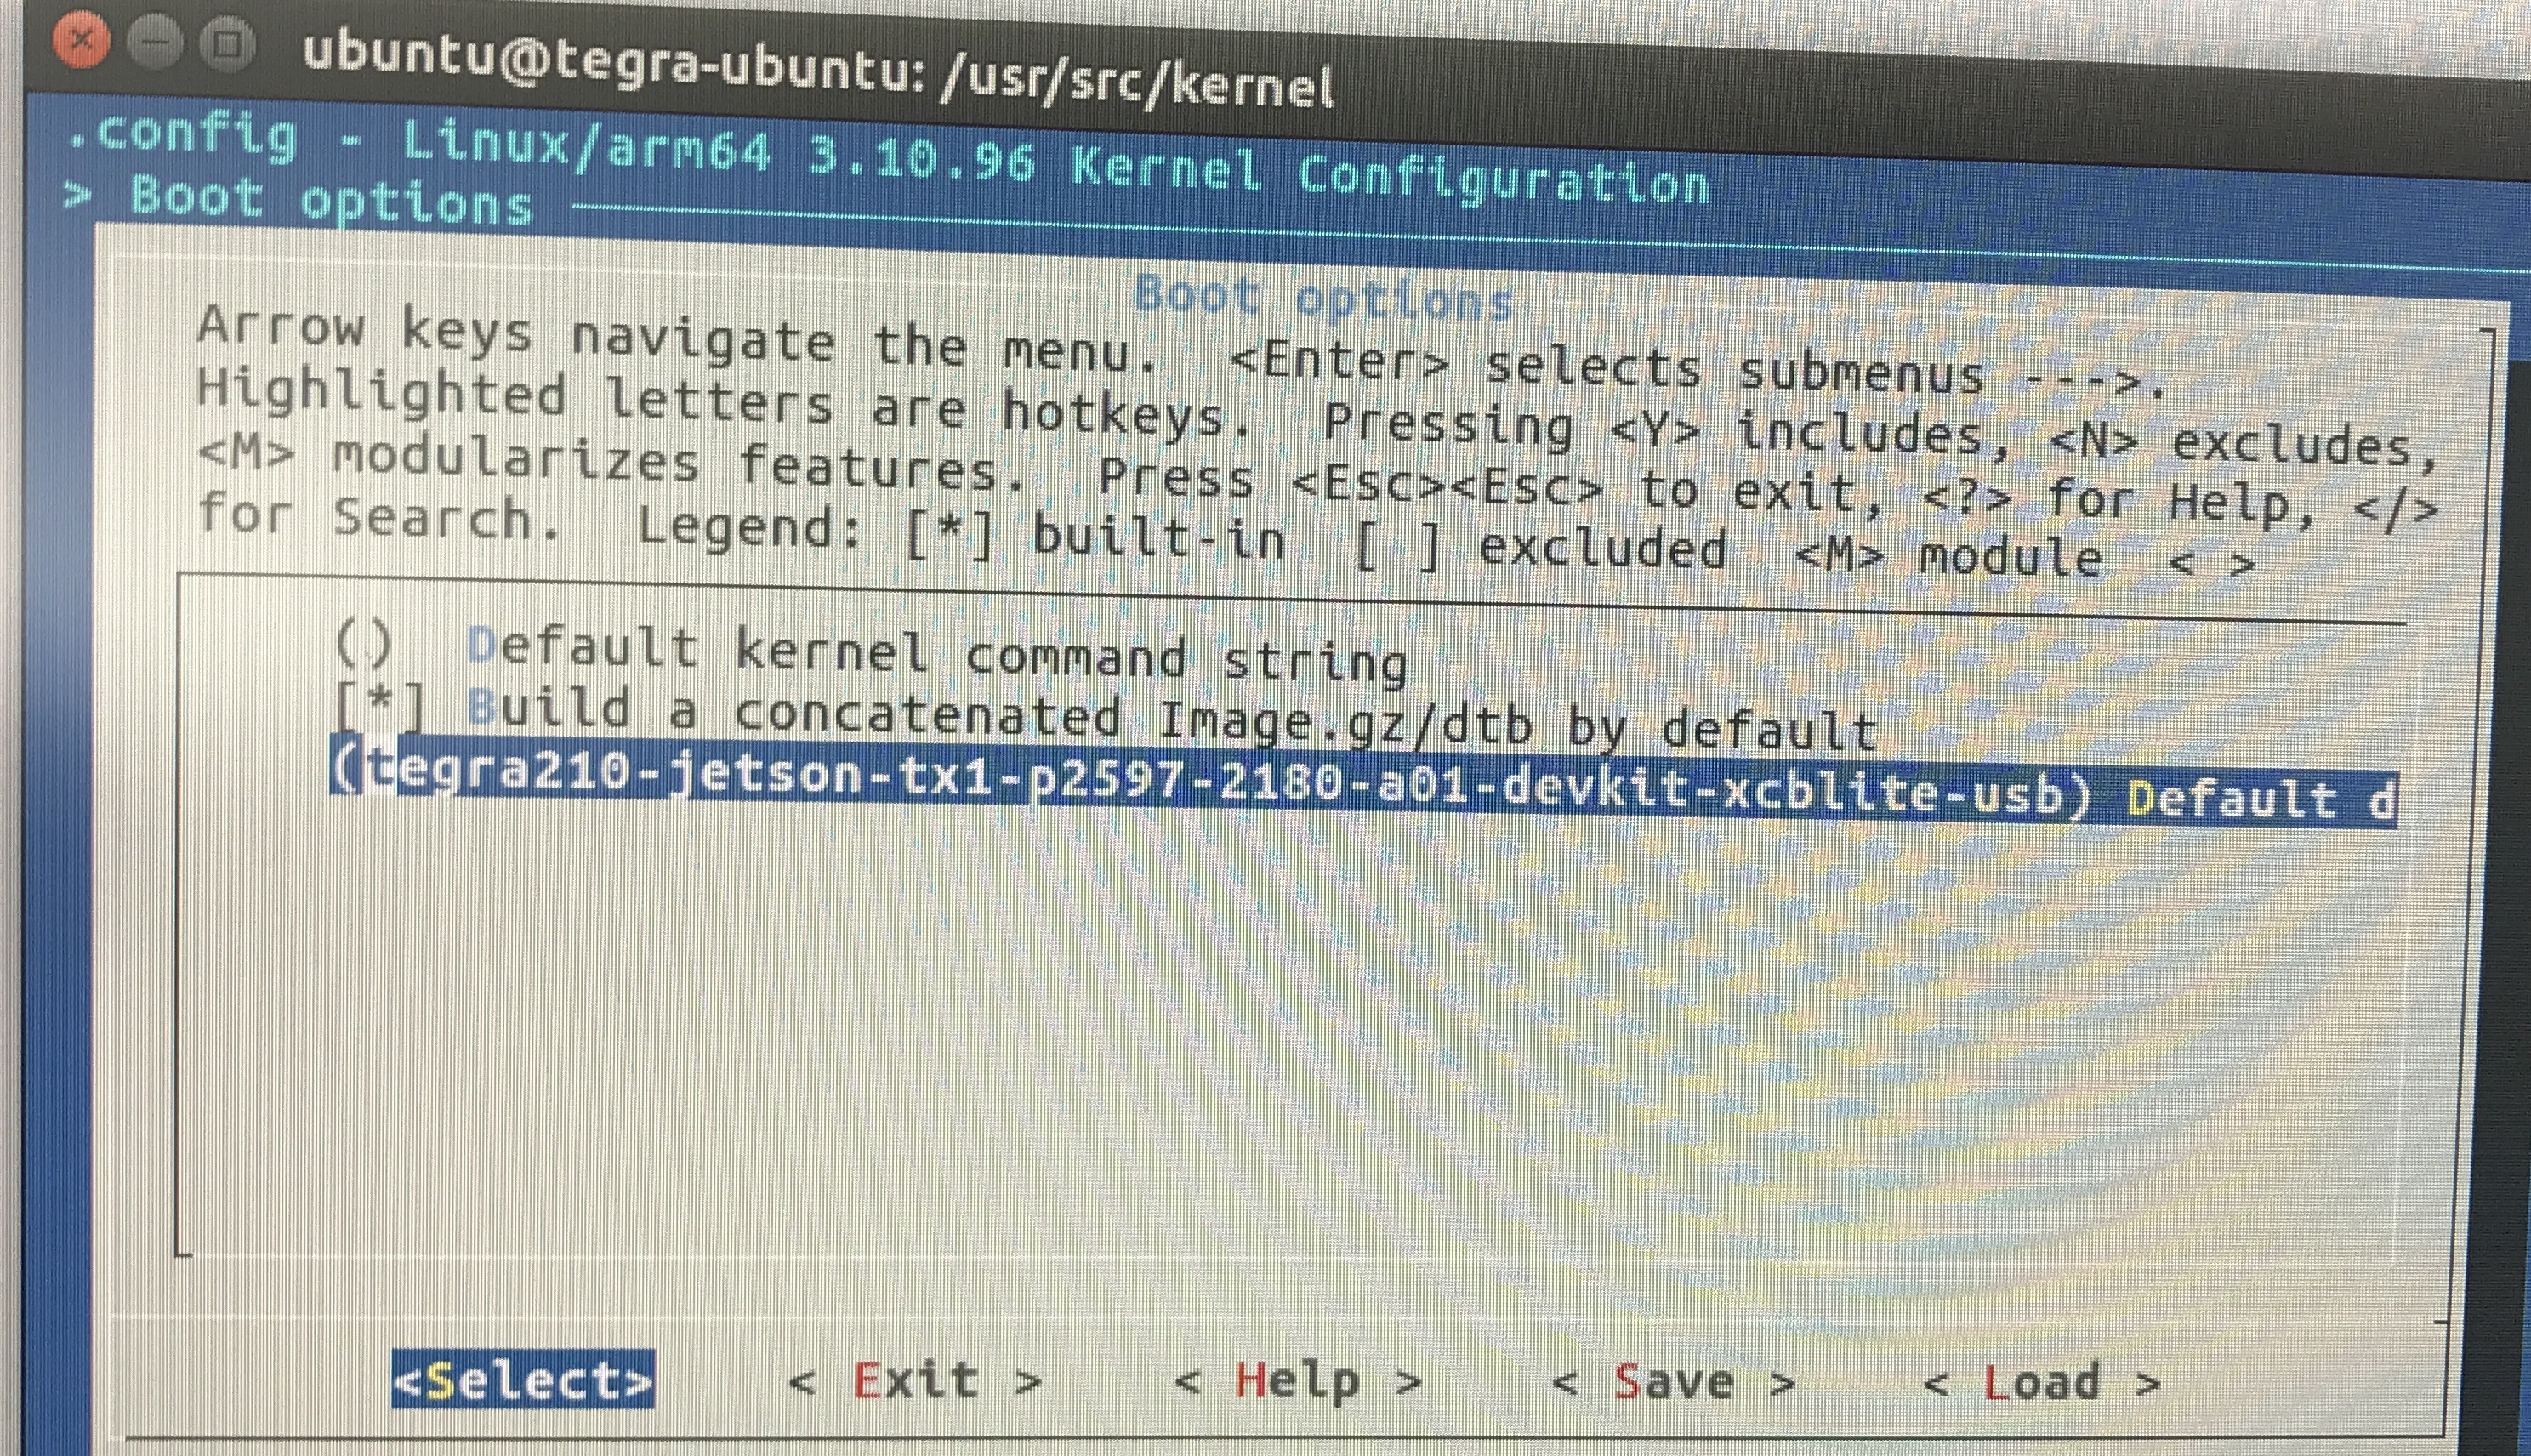
步骤二:添加.config文件中的CONFIG_BUILD_ARM64_APPENDED_DTB_IMAGE_NAMES参数值,我使用make menuconfig添加该值。参数值根据你需要编译的dtb文件的名字而定,也就是extlinux.config中的启动dtb文件的名字。
2. 添加内核源码–采用patch补丁方式
在源码的解压位置的kernel路径下,执行以下命令行:(我的位置为/usr/src/sources/kernel/)
patch -p1 < ov5640_patch
ov5640_patch为我需要添加的驱动的补丁文件,通过上面的命令行会添加相应的驱动源码和dts内容在源码中。
3. 编译内核
如果是不改变内核配置的情况下重新编译,先添加命令:
$ make clean
再编译内核
$ ./patchAndBuildKernel.sh
如果出现Reversed (or previously applied) patch detected! Assume -R? [n]
第一个选择是你是不是想还原,如果选n,那么代表不还原,接下来就询问是不是还是要应用该补丁
4. Copy Boot Image
$ ./copyImage.sh
5. Updating the DTB
replacing the one in the boot folder of the boot directory and you could also just change the FDT entry in /boot/extlinux/extlinux.conf to use a different one. —-Jetpack 3.1版本之前
Replace or Added the dtb in /boot with yours :
$ cp /usr/src/kernel/arch/arm64/boot/dts/tegra210-****.dtb /boot/tegra210-****.dtbyou could also just change the FDT entry in /boot/extlinux/extlinux.conf to use a different one.
6. 重启Tegra Tx1
在/dev中查找vedio0是否存在,运行nvgstcapture测试相机。
* extlinux.conf
extlinux.conf is a standard text-format sysboot configuration file that contains all boot information, it is installed in /boot according to the boot method.
* 驱动补丁文件的使用
patch的作用则是将diff记录的结果(即补丁)应用到相应文件(夹)上。为了正确地打上一个补丁,你需要知道这个补丁是从哪个基础版本产生出来的以及这个补丁将要把目前的源代码树变化到什么新的版本。这些信息或者会出现在补丁文件的原数据中,或者可能从文件名中推断出来。由于本文是需要在r24.2.1版本上增加一个驱动文件,因此内核源码需对应下载r24.2.1版本。
patch的作用则是将diff记录的结果(即补丁)应用到相应文件(夹)上。最常见的用法为:
patch -pNUM <patchfile>
-p Num
忽略几层文件夹,随后详解。
-E
选项说明如果发现了空文件,那么就删除它
-R
取消打过的补丁。
为了解释 -p 参数,需要看看如下patch文件片段:
--- old/modules/pcitable       Mon Sep 27 11:03:56 1999
+++ new/modules/pcitable       Tue Dec 19 20:05:41 2000
如果使用参数-p0,那就表示从当前目录找一个叫做old的文件夹,再在它下面寻找 modules/pcitable 文件来执行patch操作。
而如果使用参数-p1,那就表示忽略第一层目录(即不管old),从当前目录寻找 modules 的文件夹,再在它下面找pcitable。
* 如何在Github下载某个程序的commit版本
步骤一:打开项目,点击commits
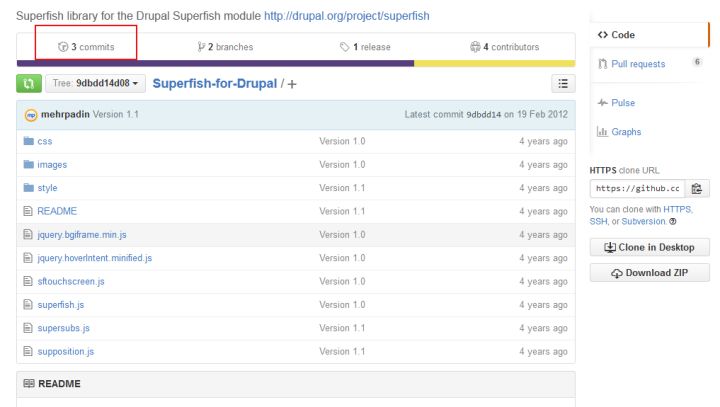
步骤二:点击红框框里面的东西,英文叫做Browse the repository at this point in history。
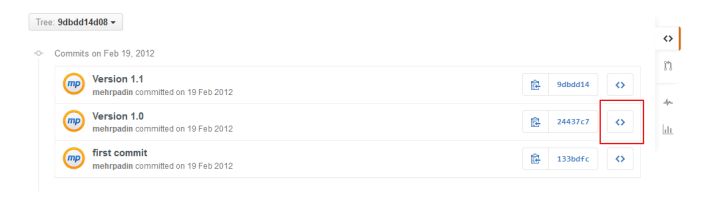
步骤三:你就会看到Download了,还是历史版本的,这个不是最新的。
* Device Tree编译
Device Tree文件的格式为dts,包含的头文件格式为dtsi,dts文件是一种人可以看懂的编码格式。但是uboot和linux不能直接识别,他们只能识别二进制文件,所以需要把dts文件编译成dtb文件。dtb文件是一种可以被kernel和uboot识别的二进制文件。把dts编译成dtb文件的工具是dtc。Linux源码目录下scripts/dtc目录包含dtc工具的源码。在Linux的scripts/dtc目录下除了提供dtc工具外,也可以自己安装dtc工具,linux下执行:sudo apt-get install device-tree-compiler安装dtc工具。dtc工具的使用方法是:dtc –I dts –O dtb –o xxx.dtb xxx.dts,即可生成dts文件对应的dtb文件了。 当然了,dtc –I dtb –O dts –o xxx.dts xxx.dtb反过来即可生成dts文件。其中还提供了一个fdtdump的工具,可以dump dtb文件,方便查看信息。